

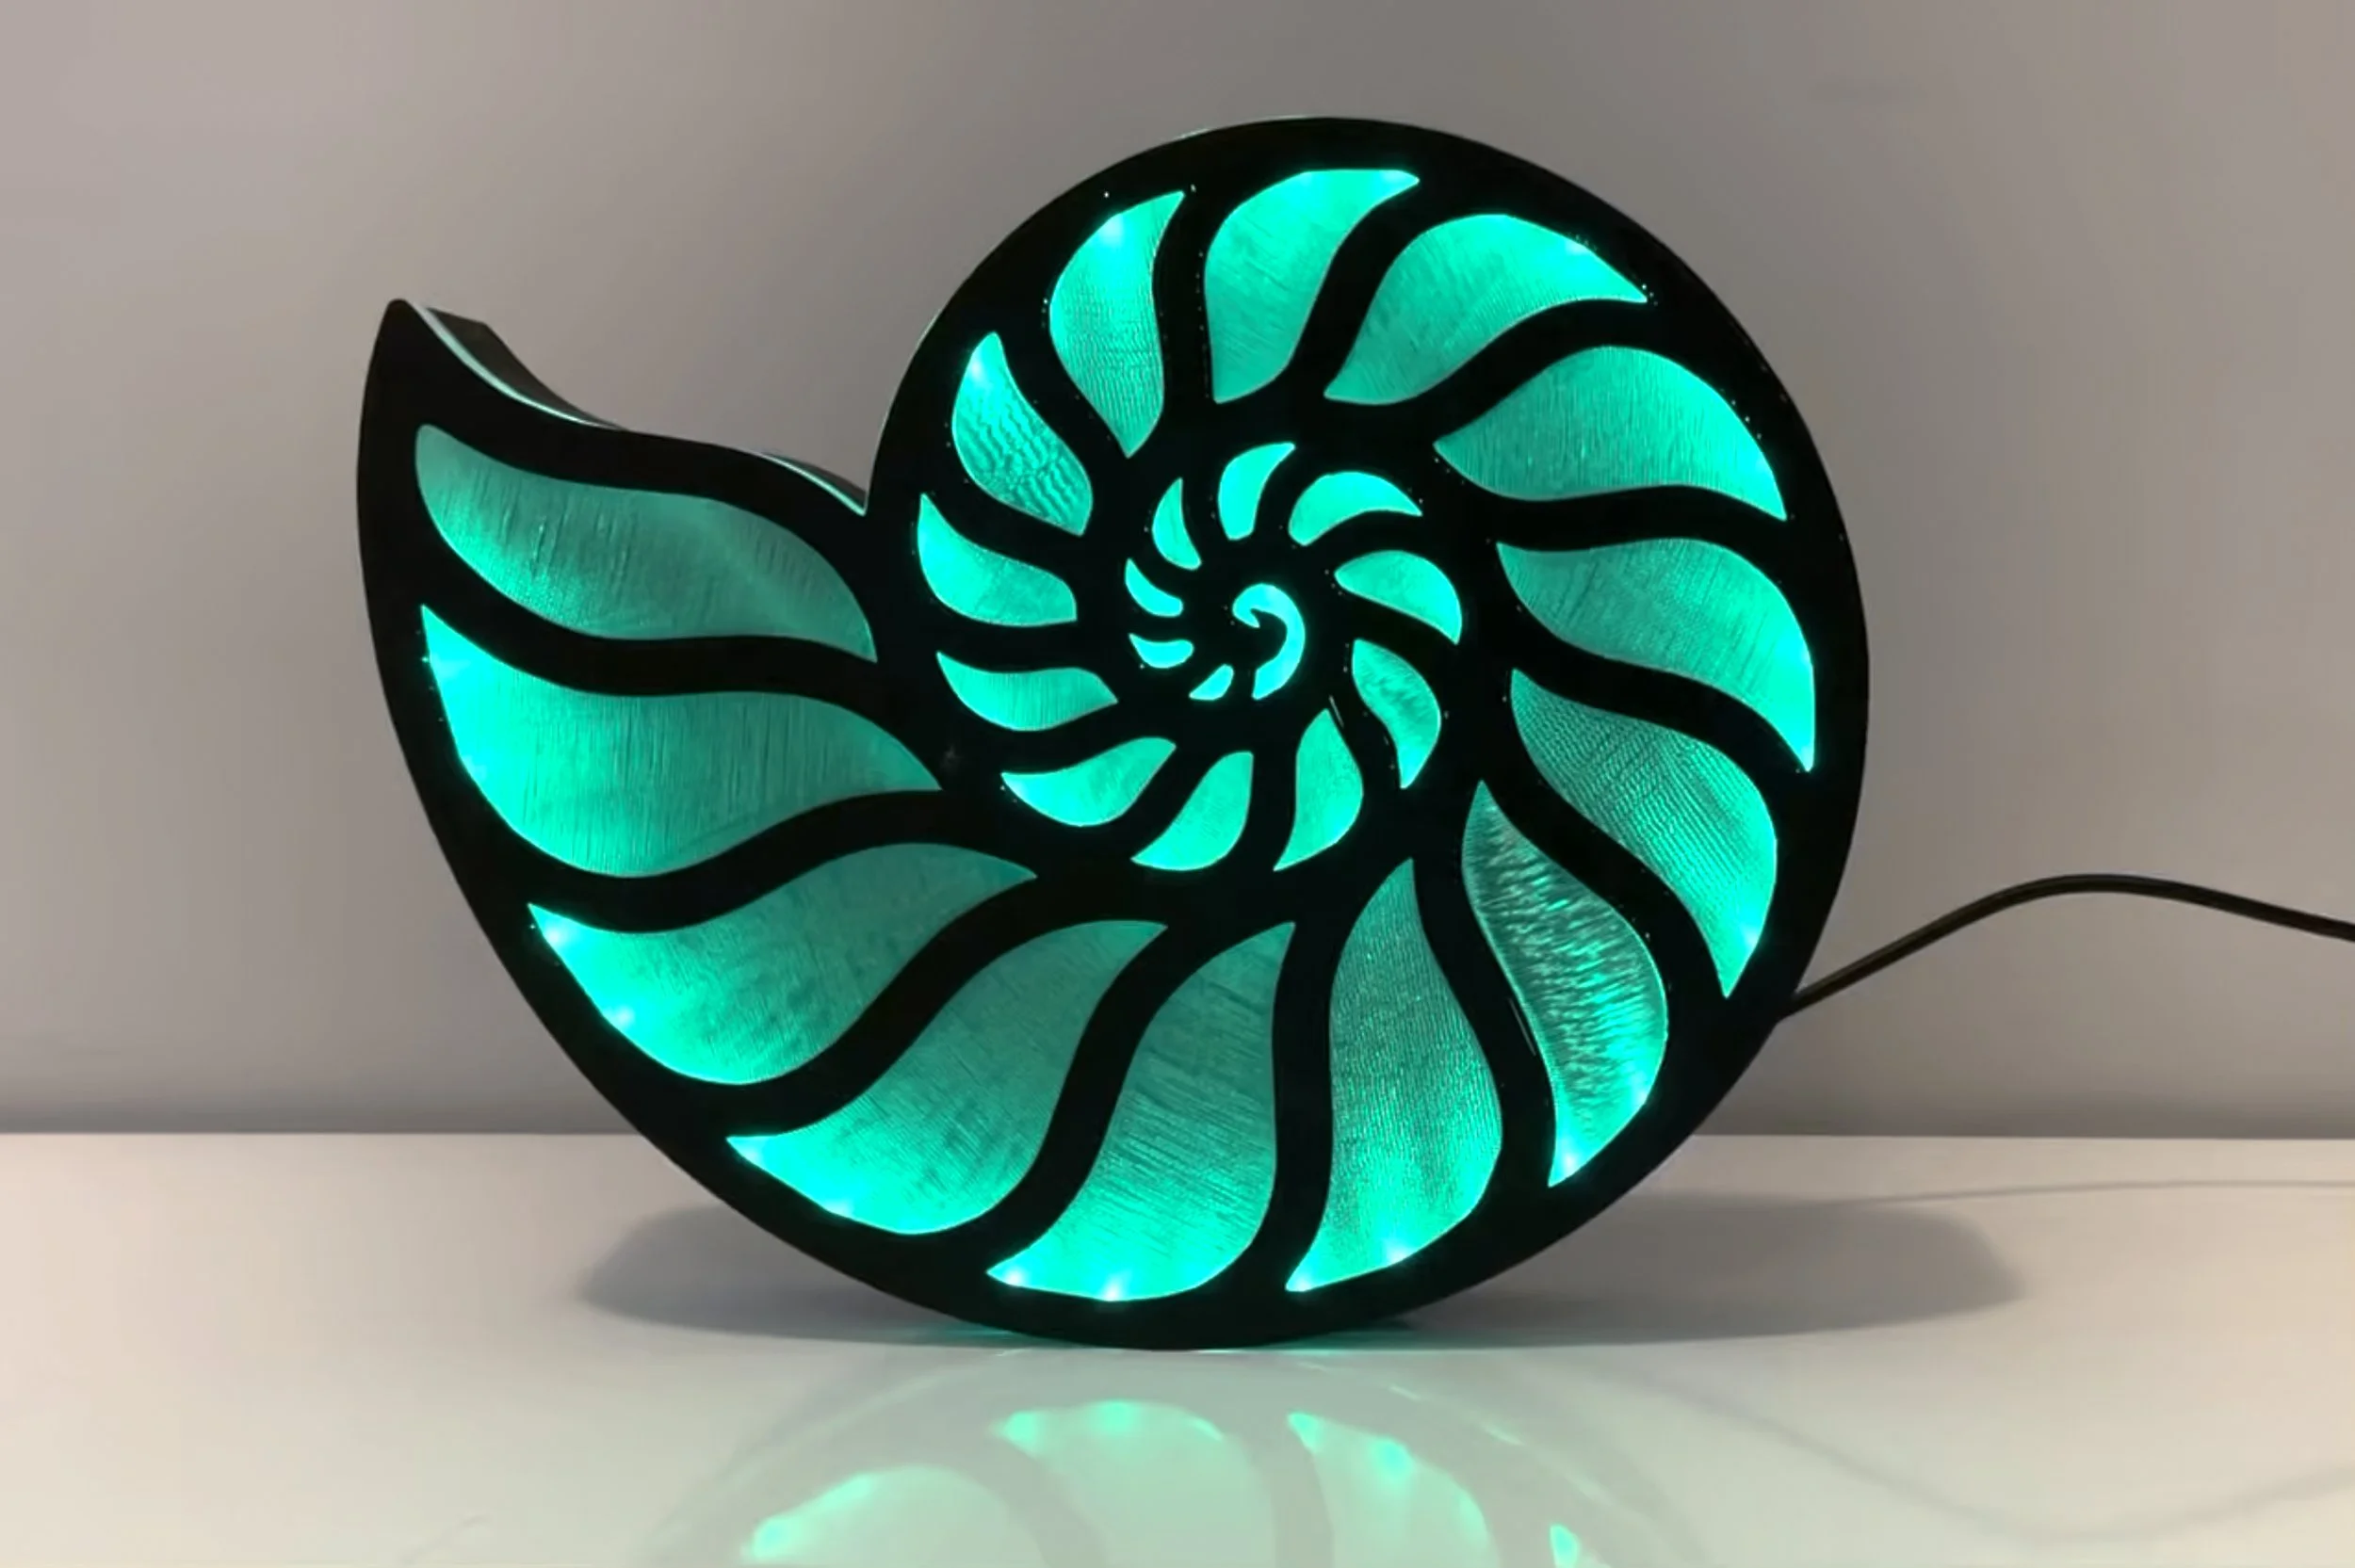
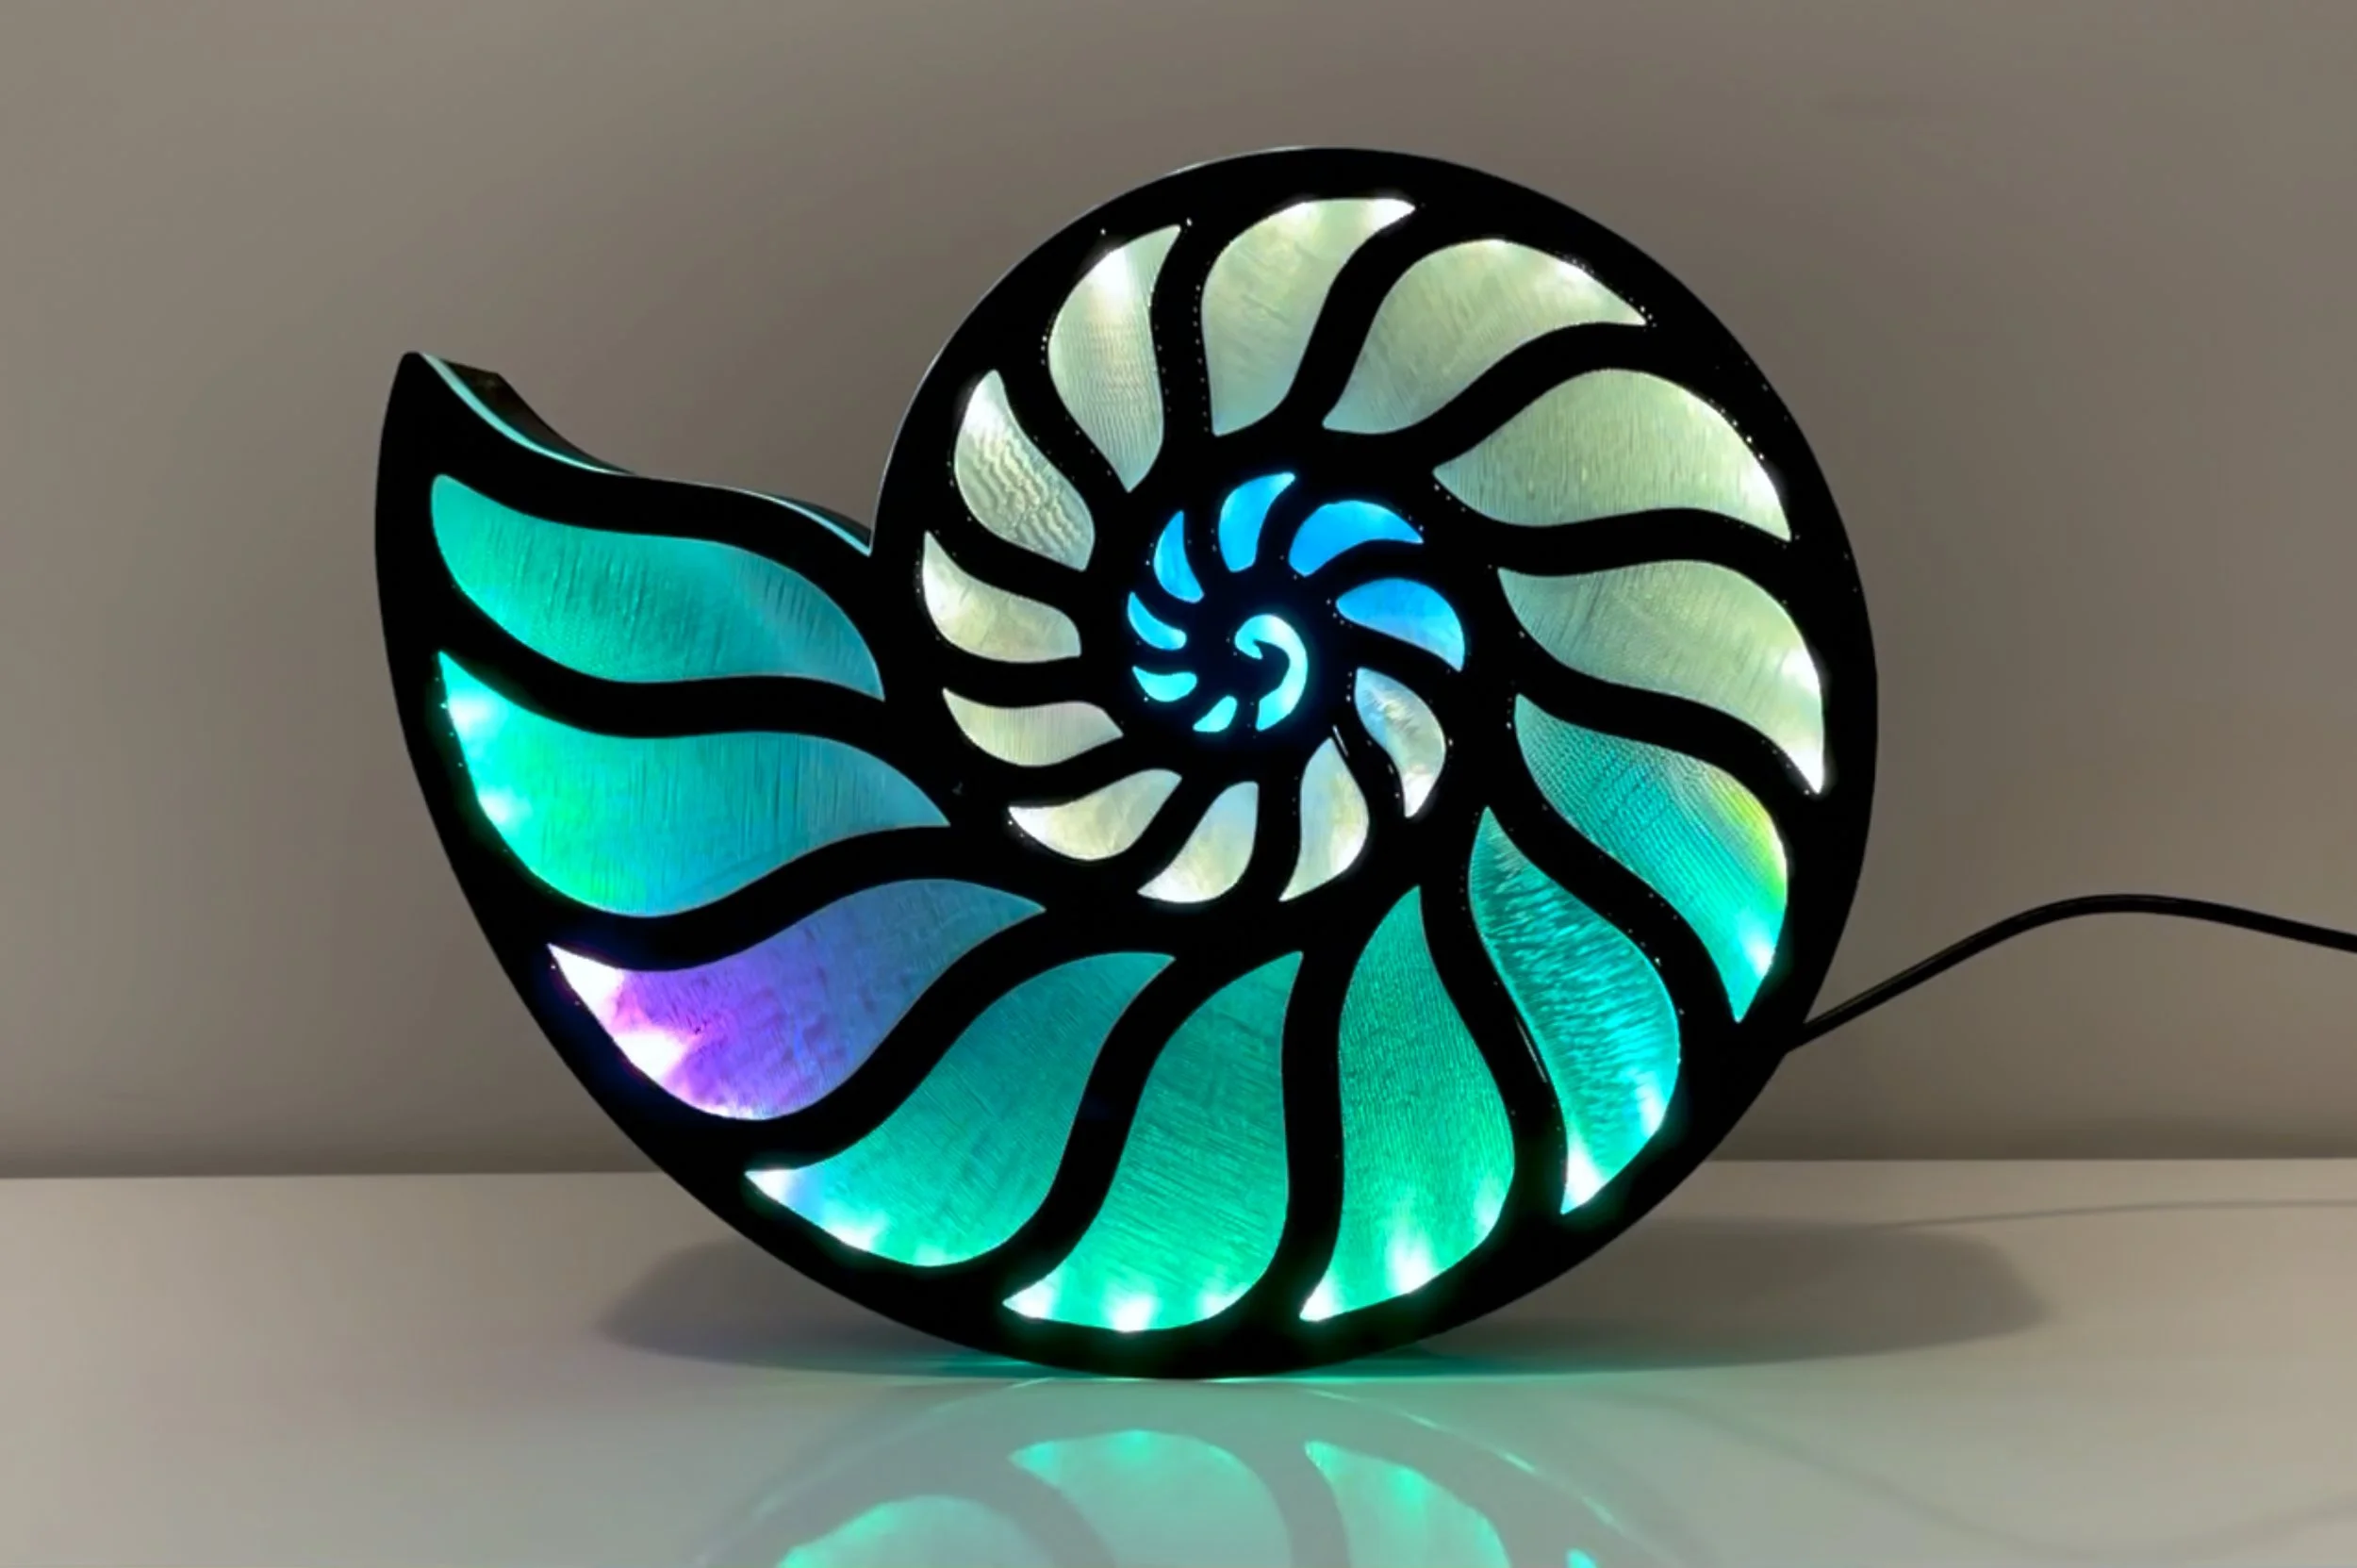
Lucas The Nautilus Lamp (Sound-Reactive)
Bill of Materials (BOM)
3D-printed parts
Arduino UNO R4 (also need USB cable compatible with the Arduino UNO R4)
Keyestudio microphone sensor
1 meter WS2812 LED Strip (Must be exactly 1 meter, I used 144 leds)
USB Type-C 3.1 PD to 5.5mm Barrel Jack Cable (12V 5A Output, 1.2m long). IMPORTANT WARNING: If you are using an older version of the UNO (e.g., UNO R3) or a Nano instead of the specified R4, it is highly recommended to switch to a 5V power cable, or provide a separate 5V power supply for the LEDs. Feeding 12V to older boards while driving 144 LEDs will cause fatal hardware damage to the voltage regulator.
Jumper wires
6 pieces of M3x4 or M3x6 hex socket head cap screws
Small zip ties (for wire management and securing sound sensor)
M3 hex screwdriver

Step-by-Step Assembly Guide
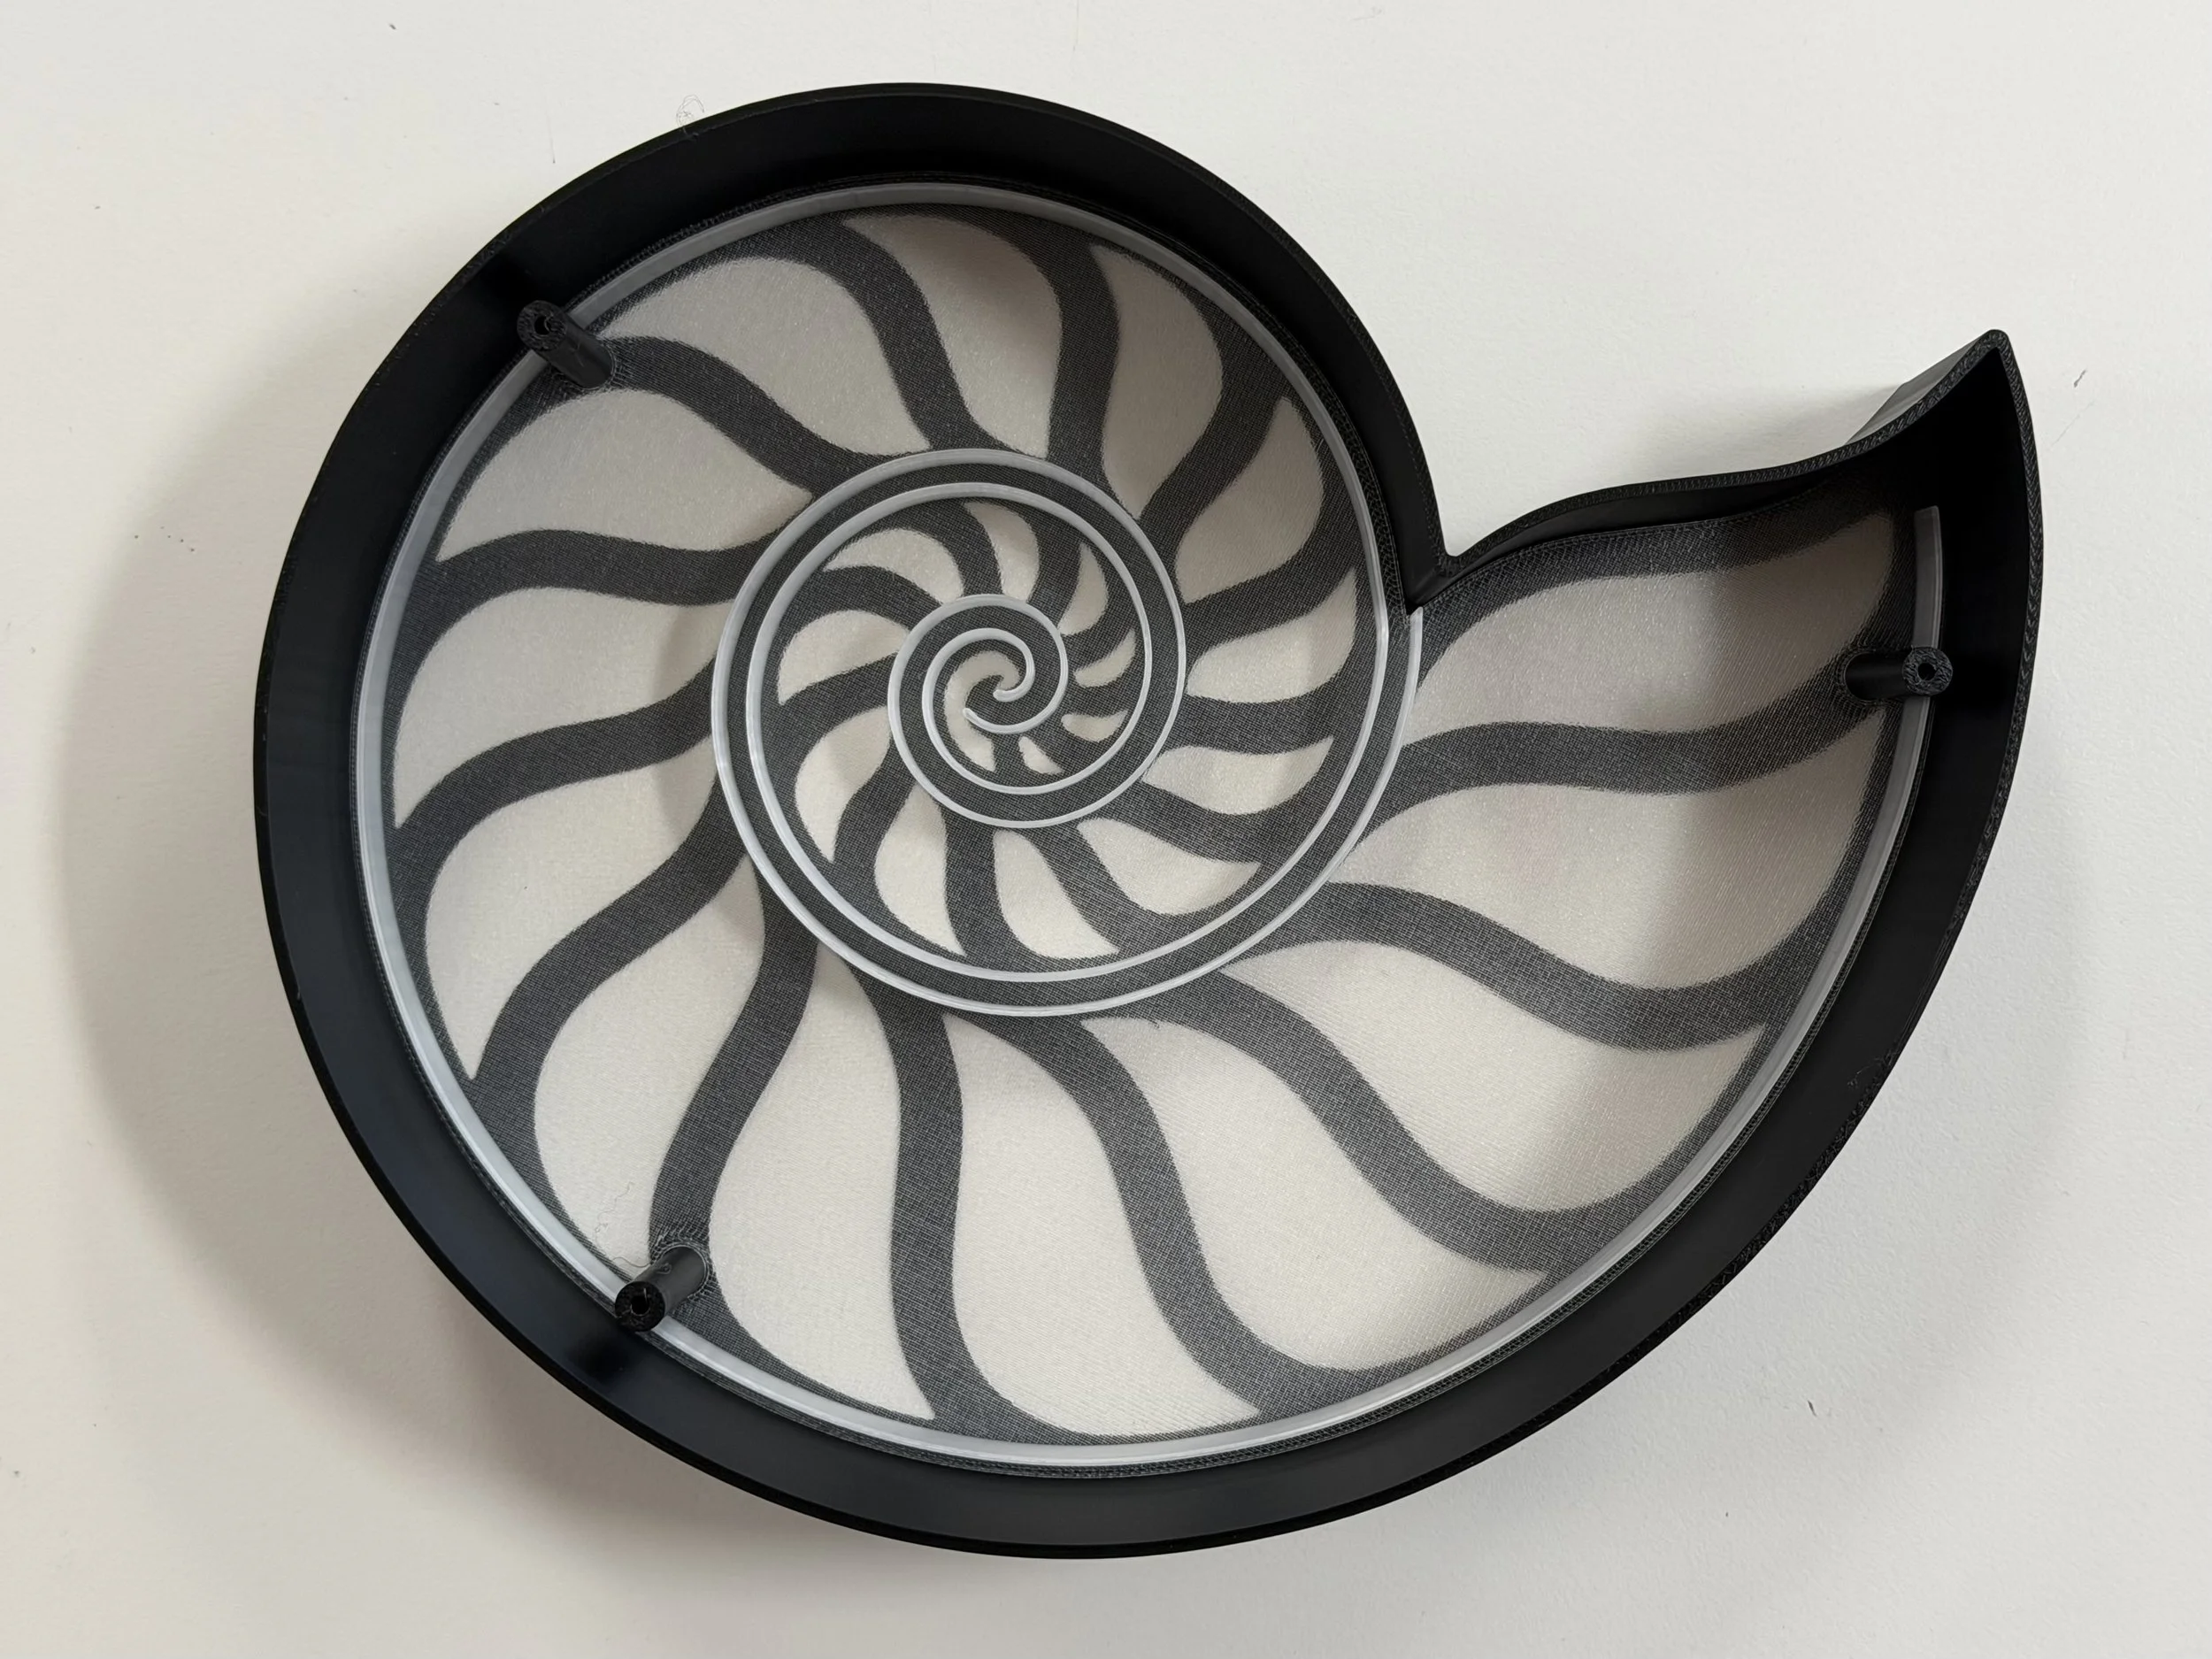
Step 1: Place the transparent diffuser into the black enclosure (as shown in the picture).
Step 2: Carefully observe the WS2812 LED strip. It has explicit arrows printed on it. Ensure that when installing, these arrows point from the outside towards the inside of the spiral (the arrows must follow the same direction as the LED running light).
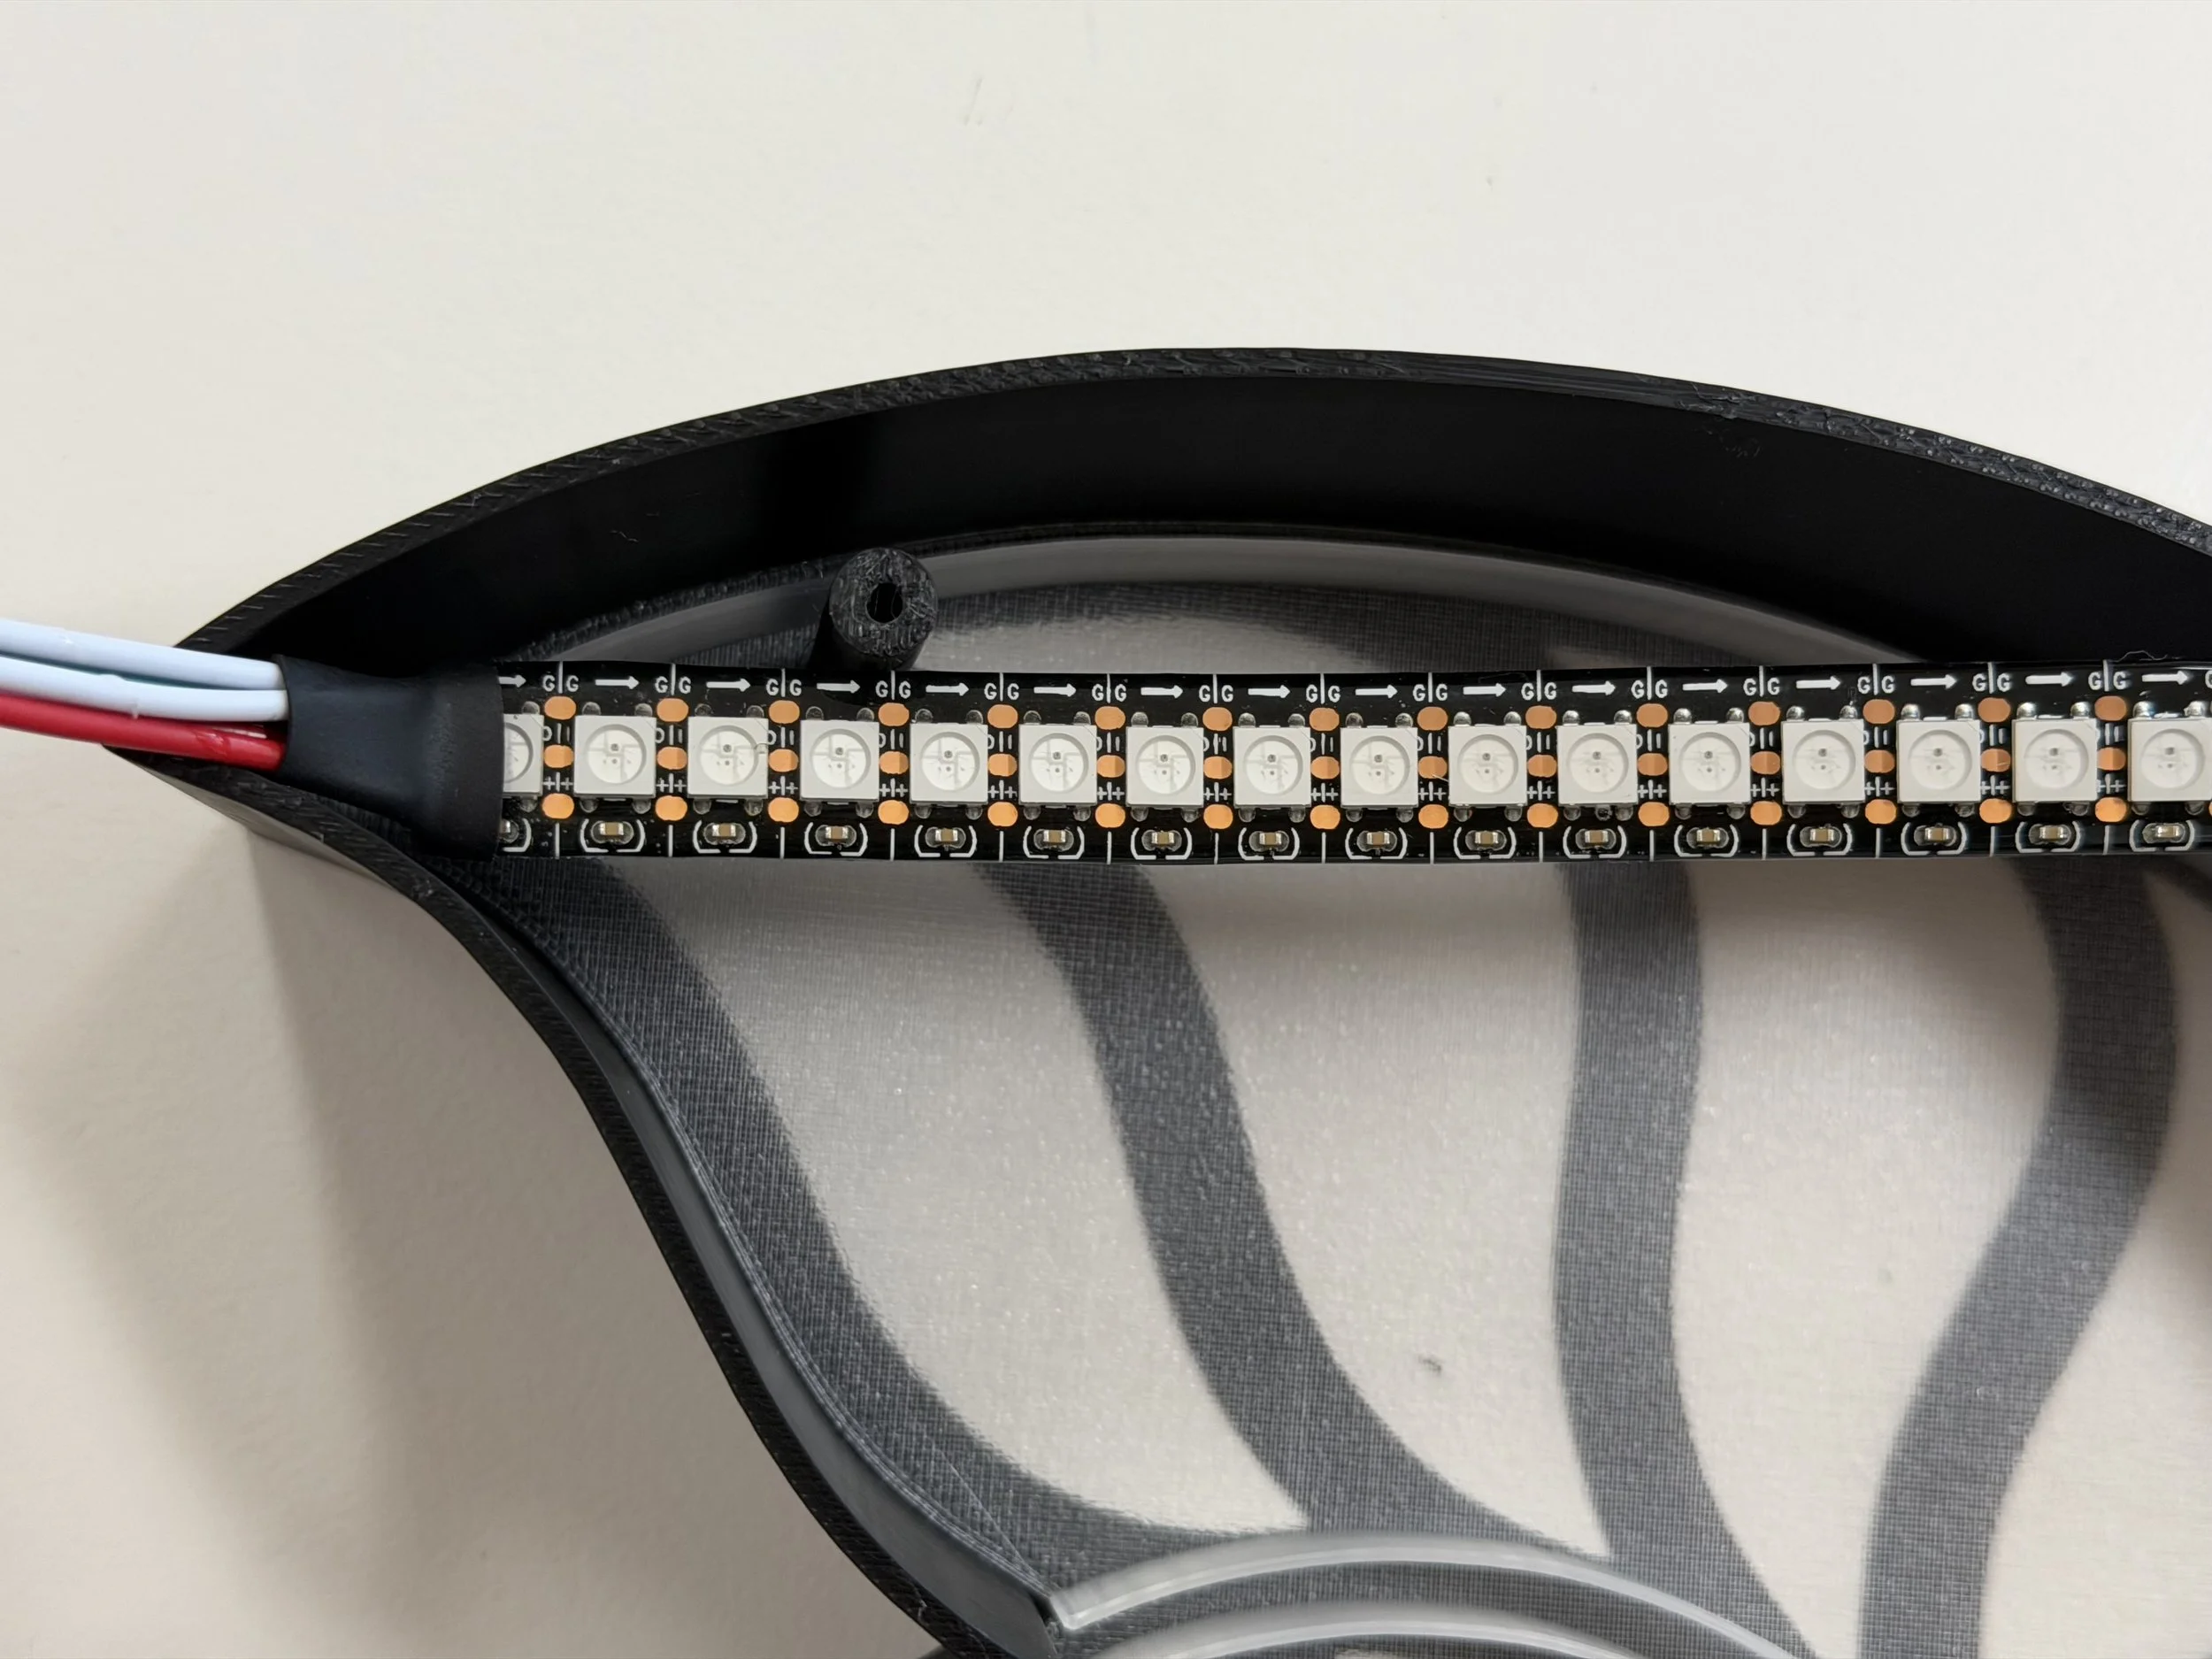
Step 3: There is a groove specifically designed for the LED strip right between the black enclosure and the transparent diffuser. Place the LED strip into this groove. The groove should perfectly fit exactly 1 meter of the strip (as shown in the picture, but absolutely double-check the arrow direction again before pressing it in).
Step 4: After placing the LED strip into the groove, install the separator plate that goes between the LEDs and the Arduino compartment. Position it exactly as shown in the picture.
Step 5: Connect the wires. Use the screws and zip ties to securely mount the Arduino and the microphone sensor to the separator plate (as shown in the picture).
Step 6: After successfully flashing the code to the Arduino, you can plug in the DC power cable.