

Mechanical Spinning Top Box

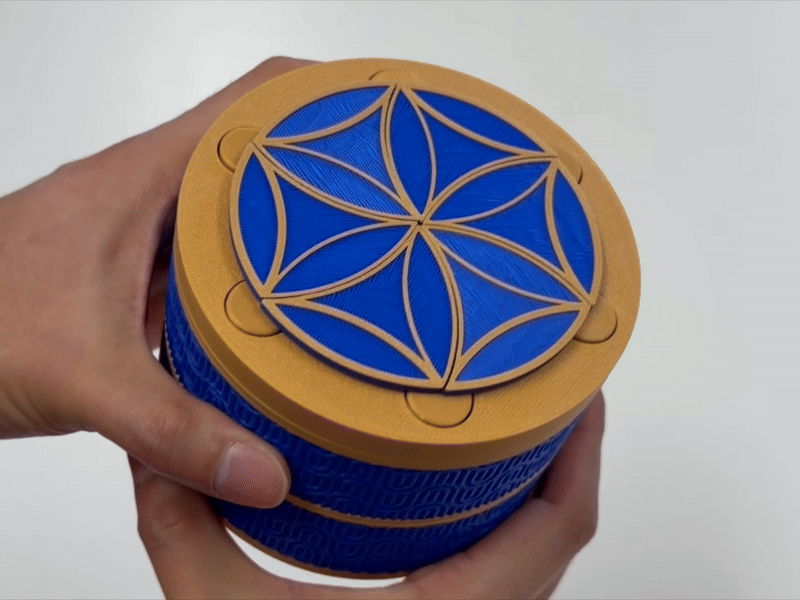

A very satisfying little mechanism to play with, and also practical for storing small objects!
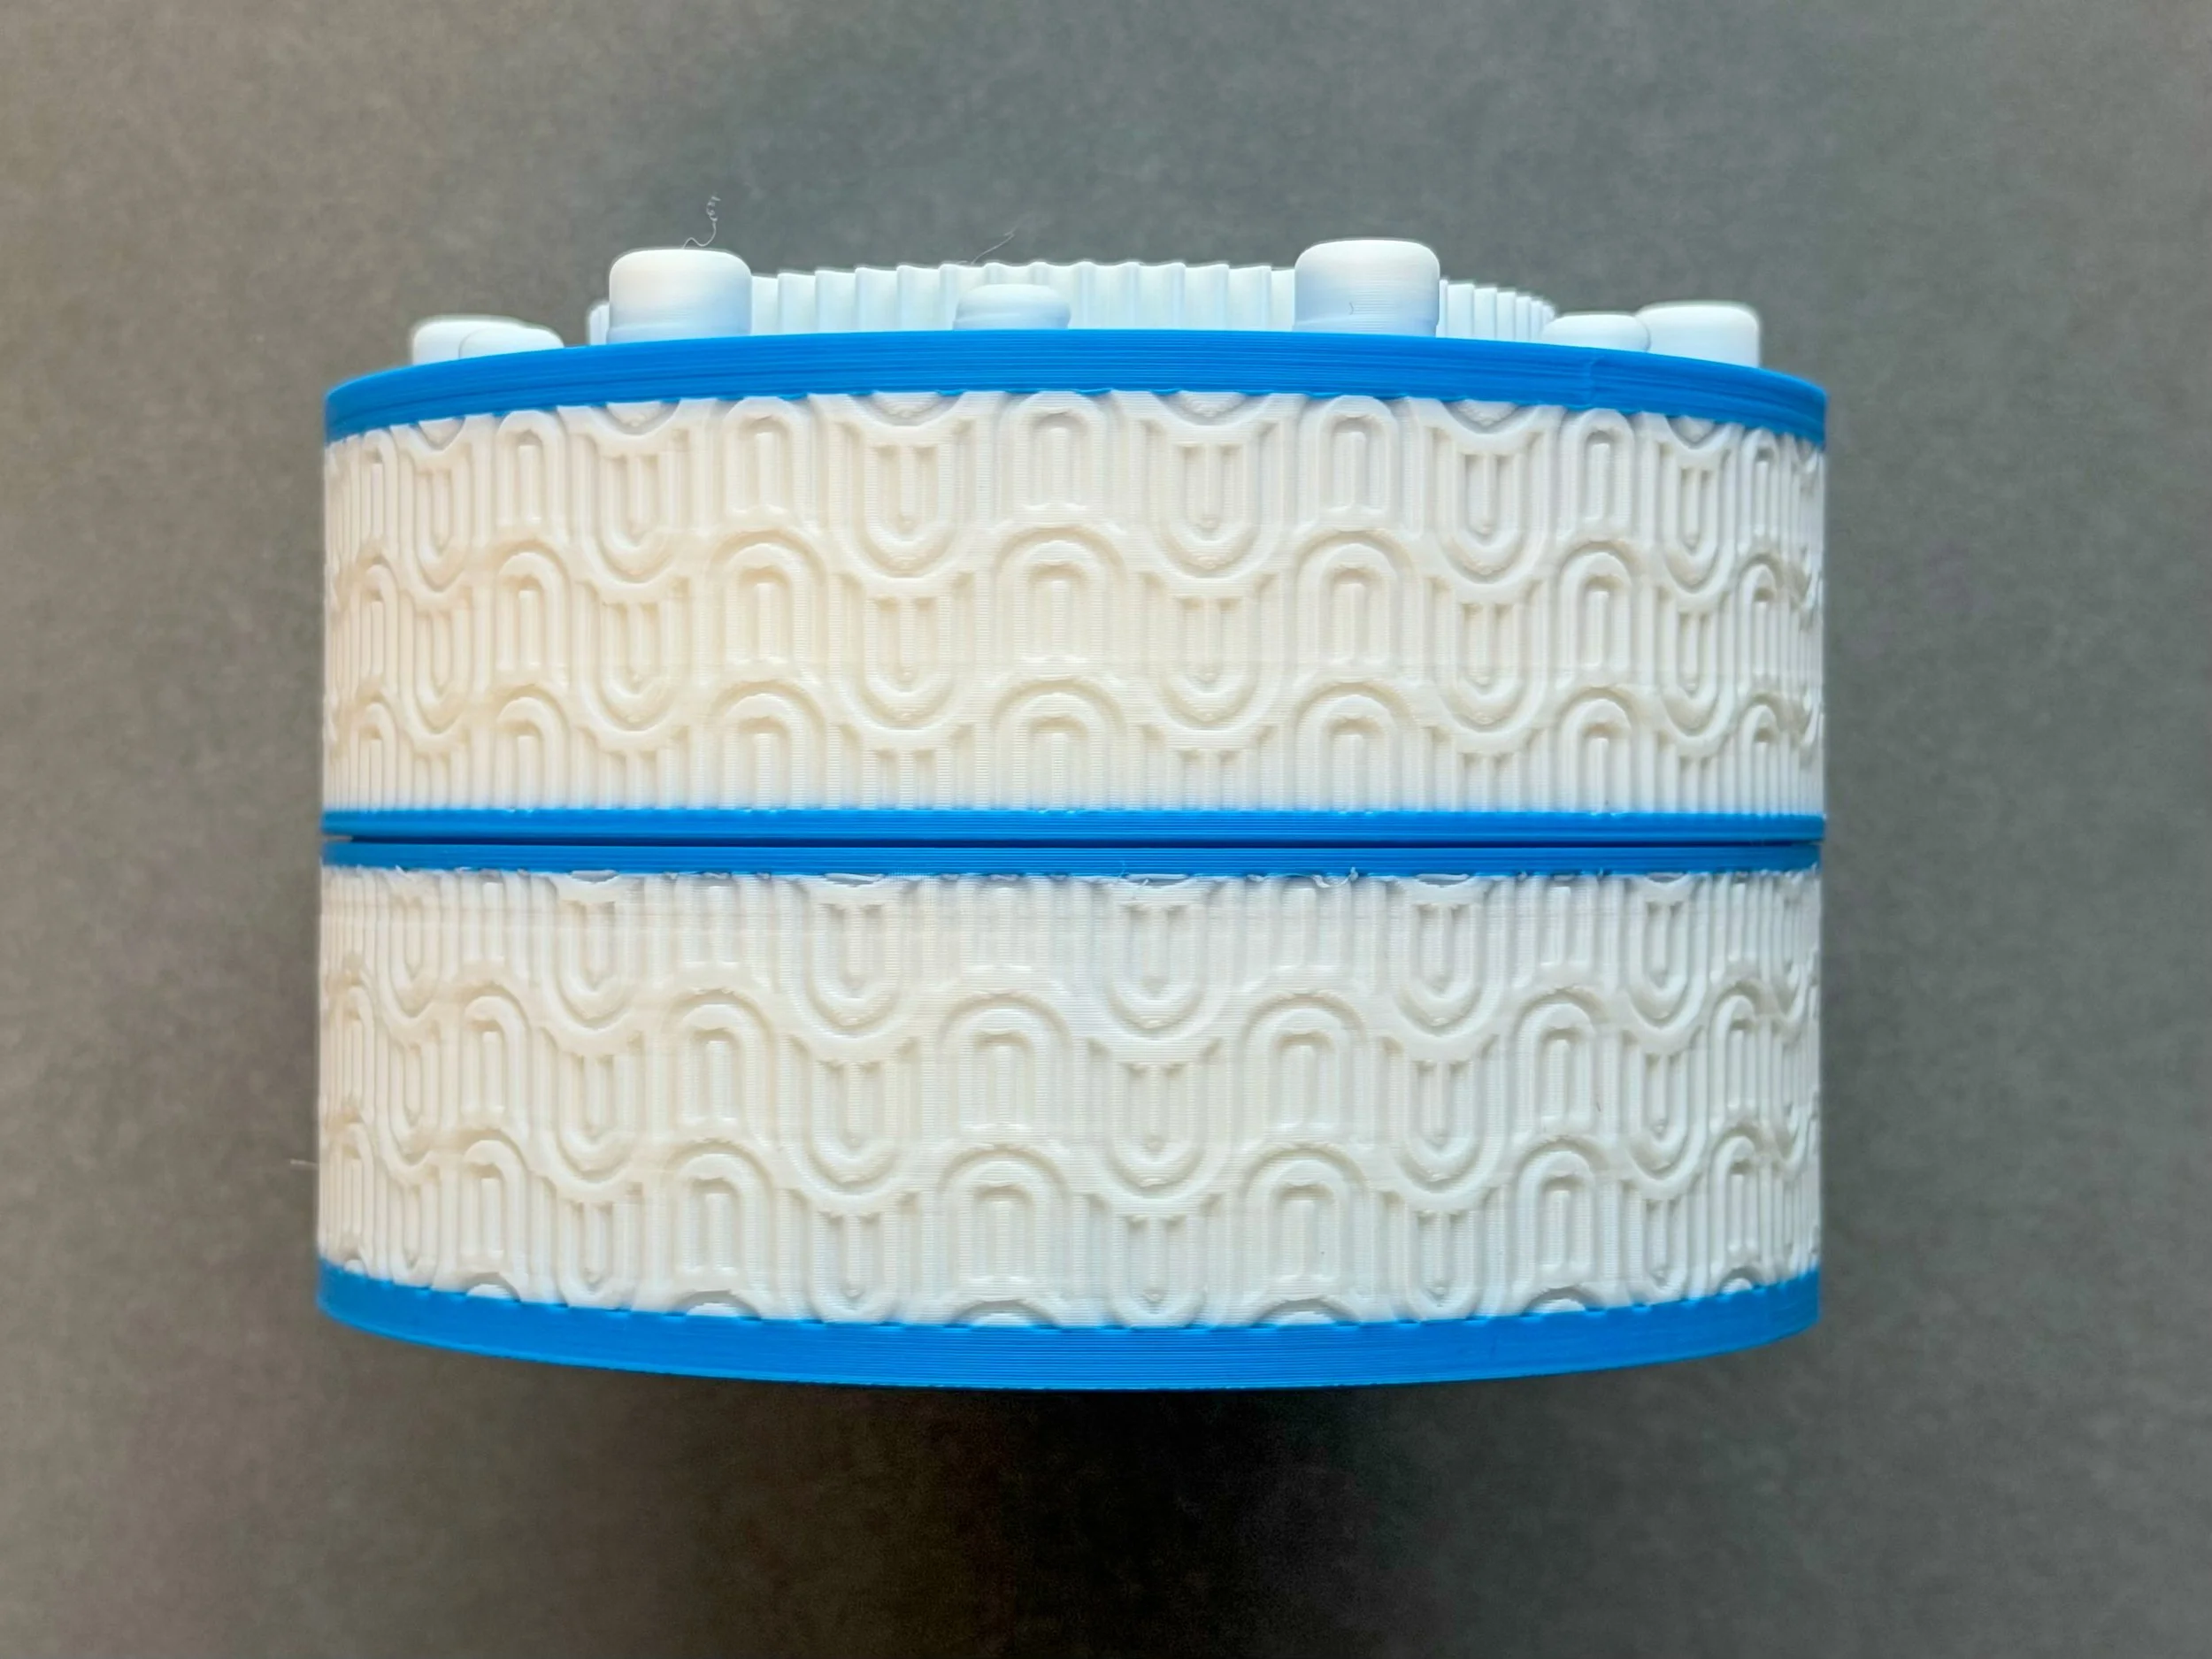
Step 1: Attach the Upper and Lower Body
The upper body and lower body are designed to click together easily. In most cases they will press on smoothly, but depending on your printing accuracy you may need to apply a big pressure to ensure they lock in place.
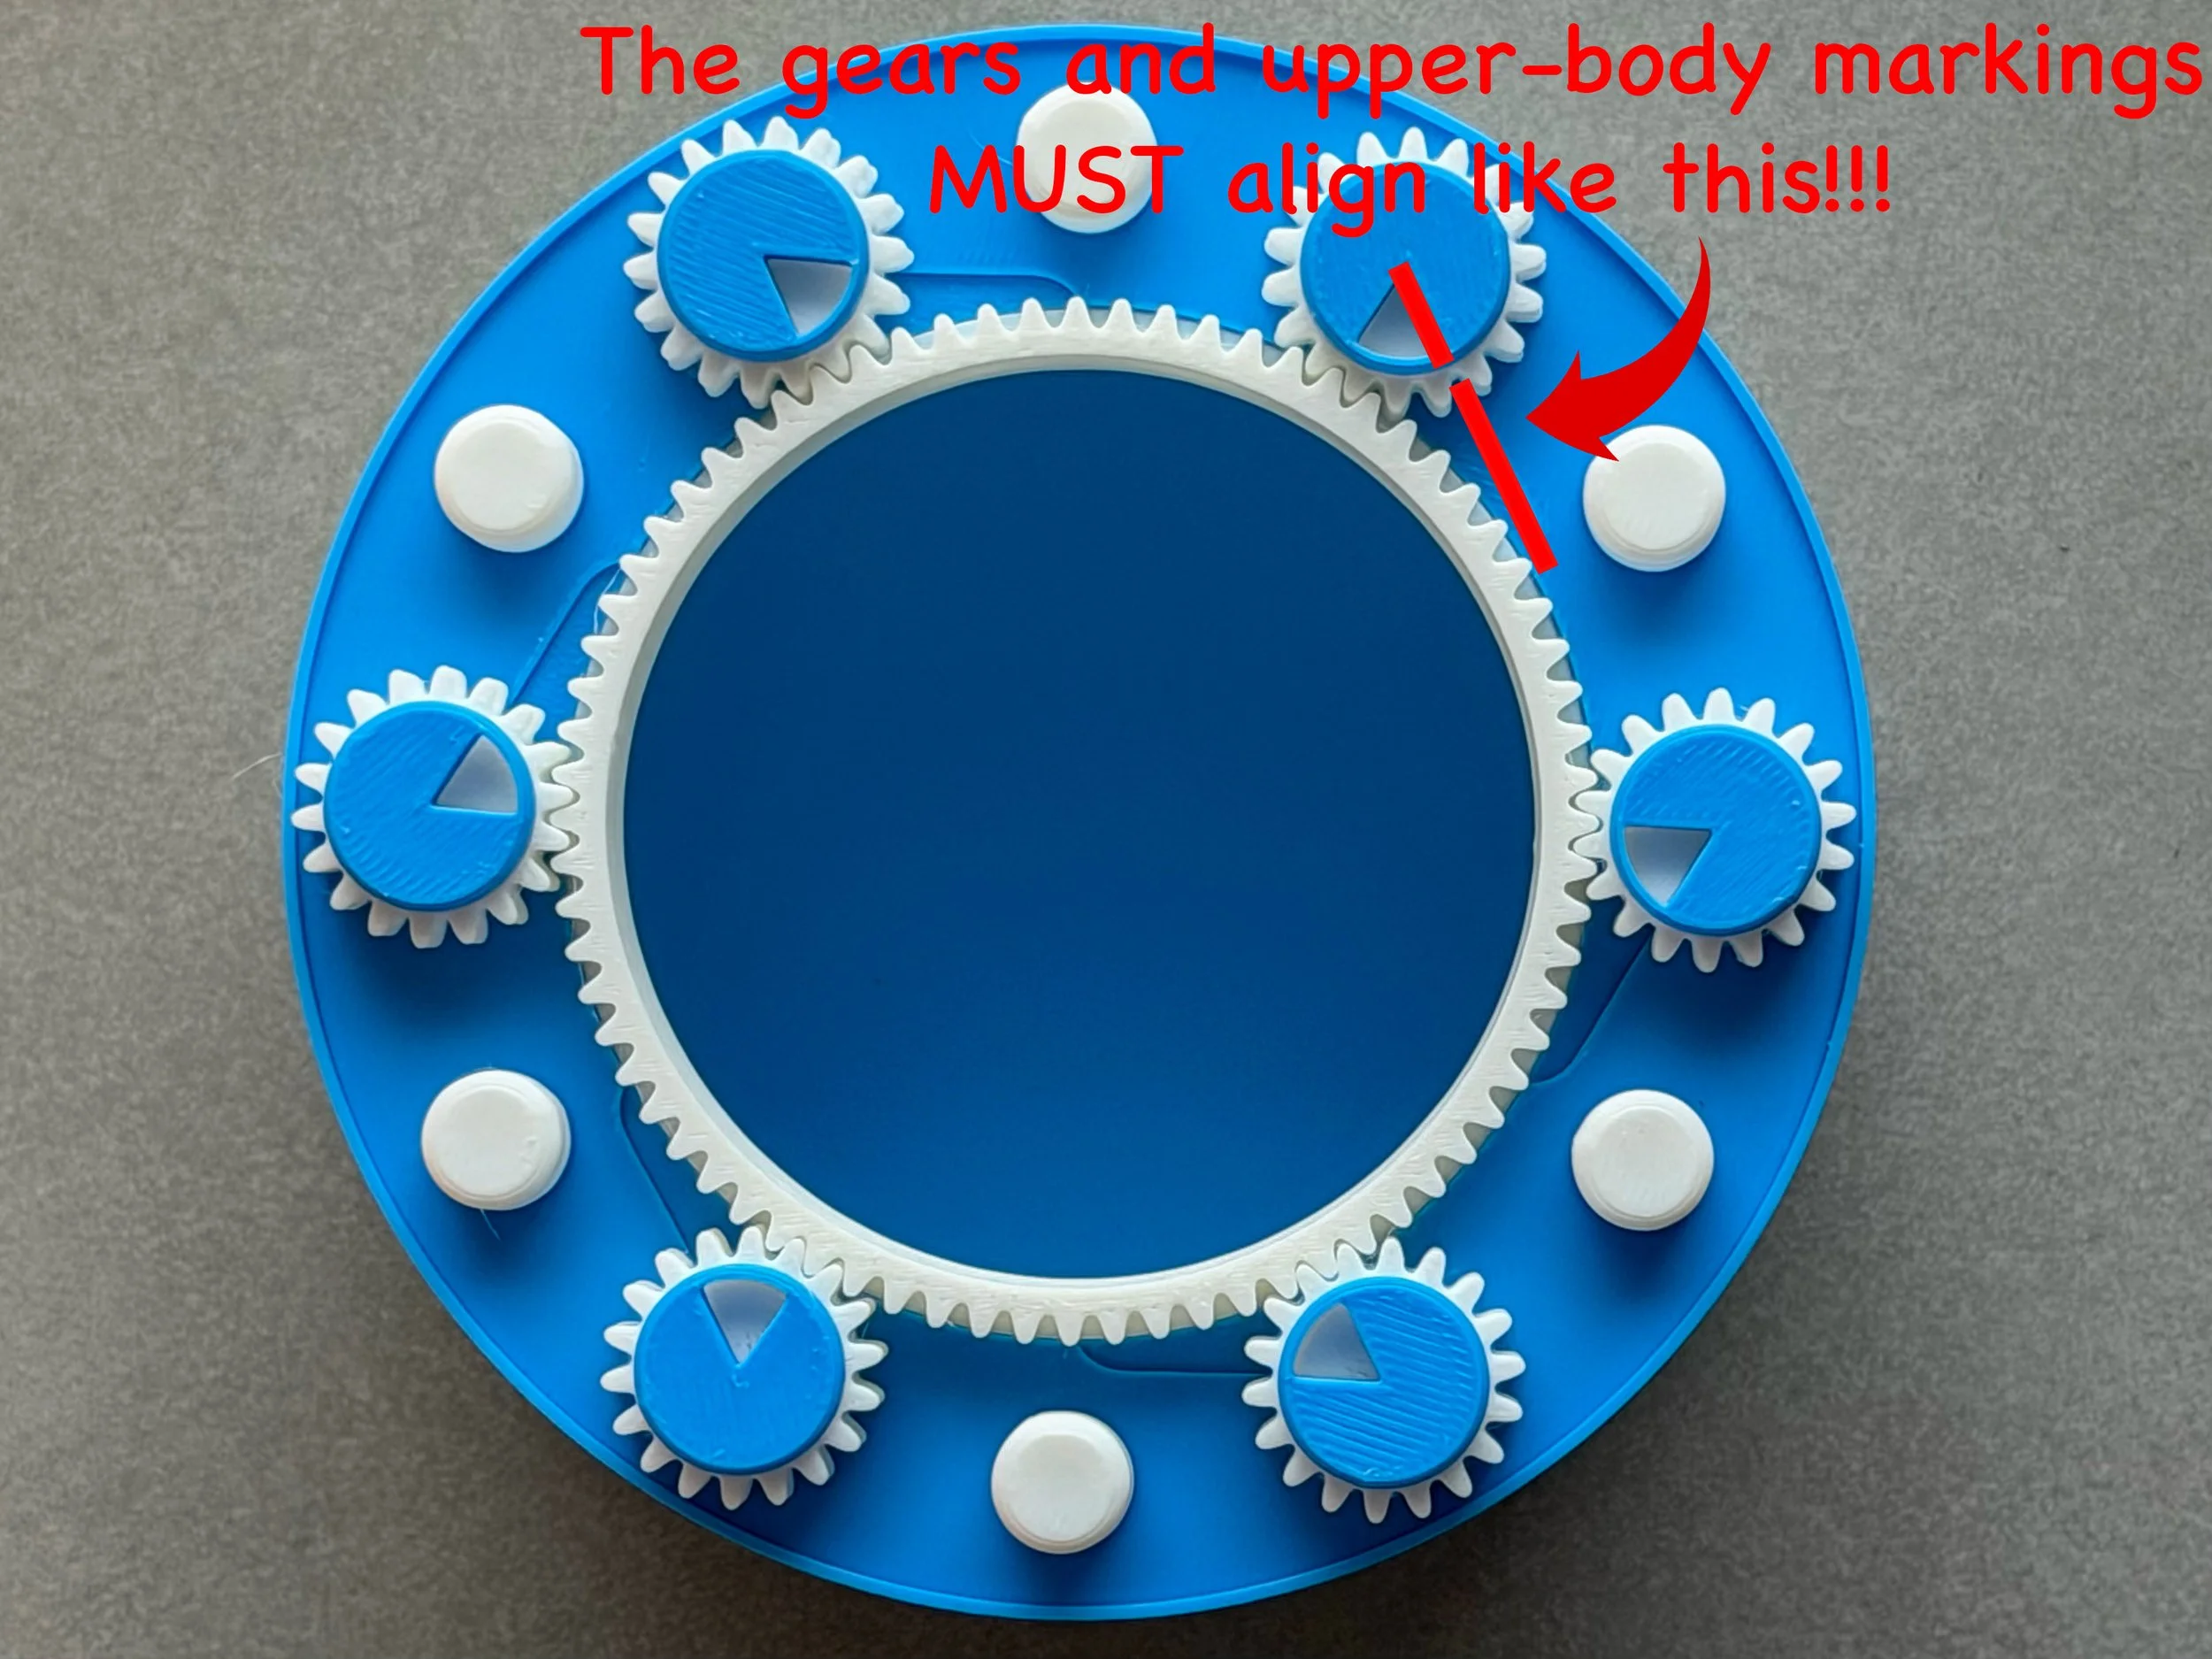
Step 2: Align the Gear Correctly
This is the most important step. Make sure the gears are aligned exactly as shown in the reference image!!!
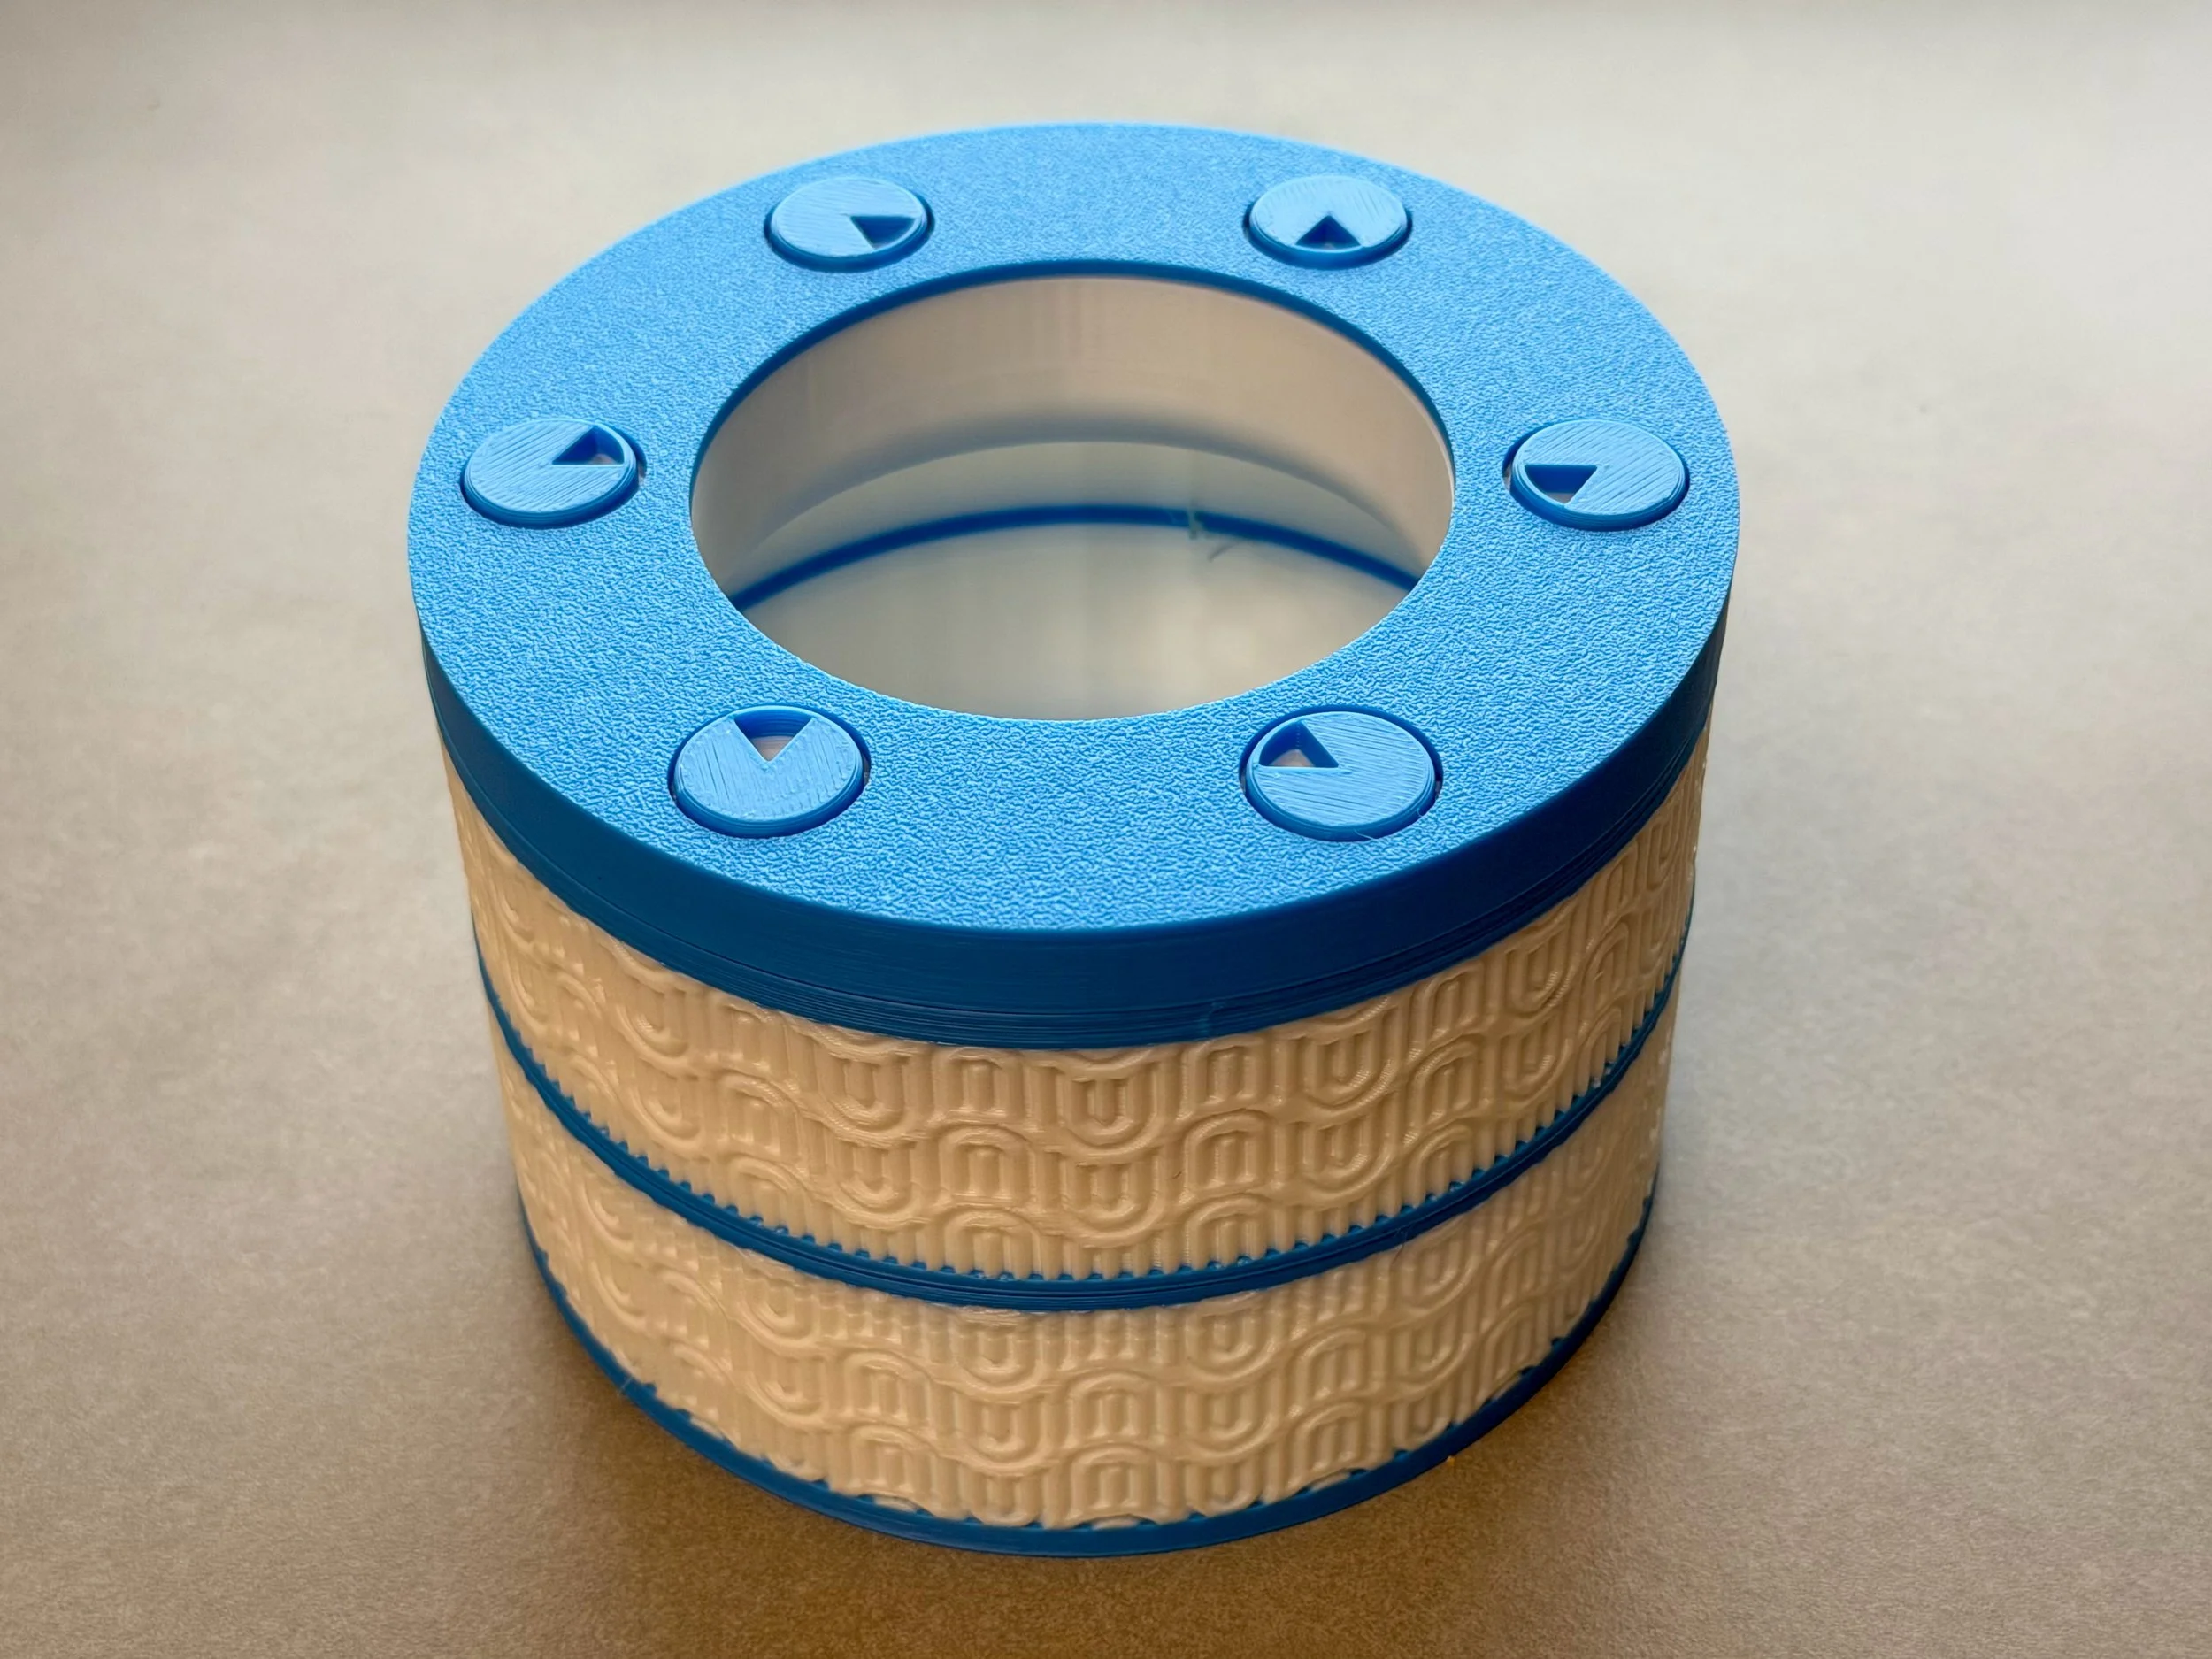
Step 3: Press the Lid Into Place
The lid is a simple press-fit. Push it down until it seats fully. It will stay in place through friction.
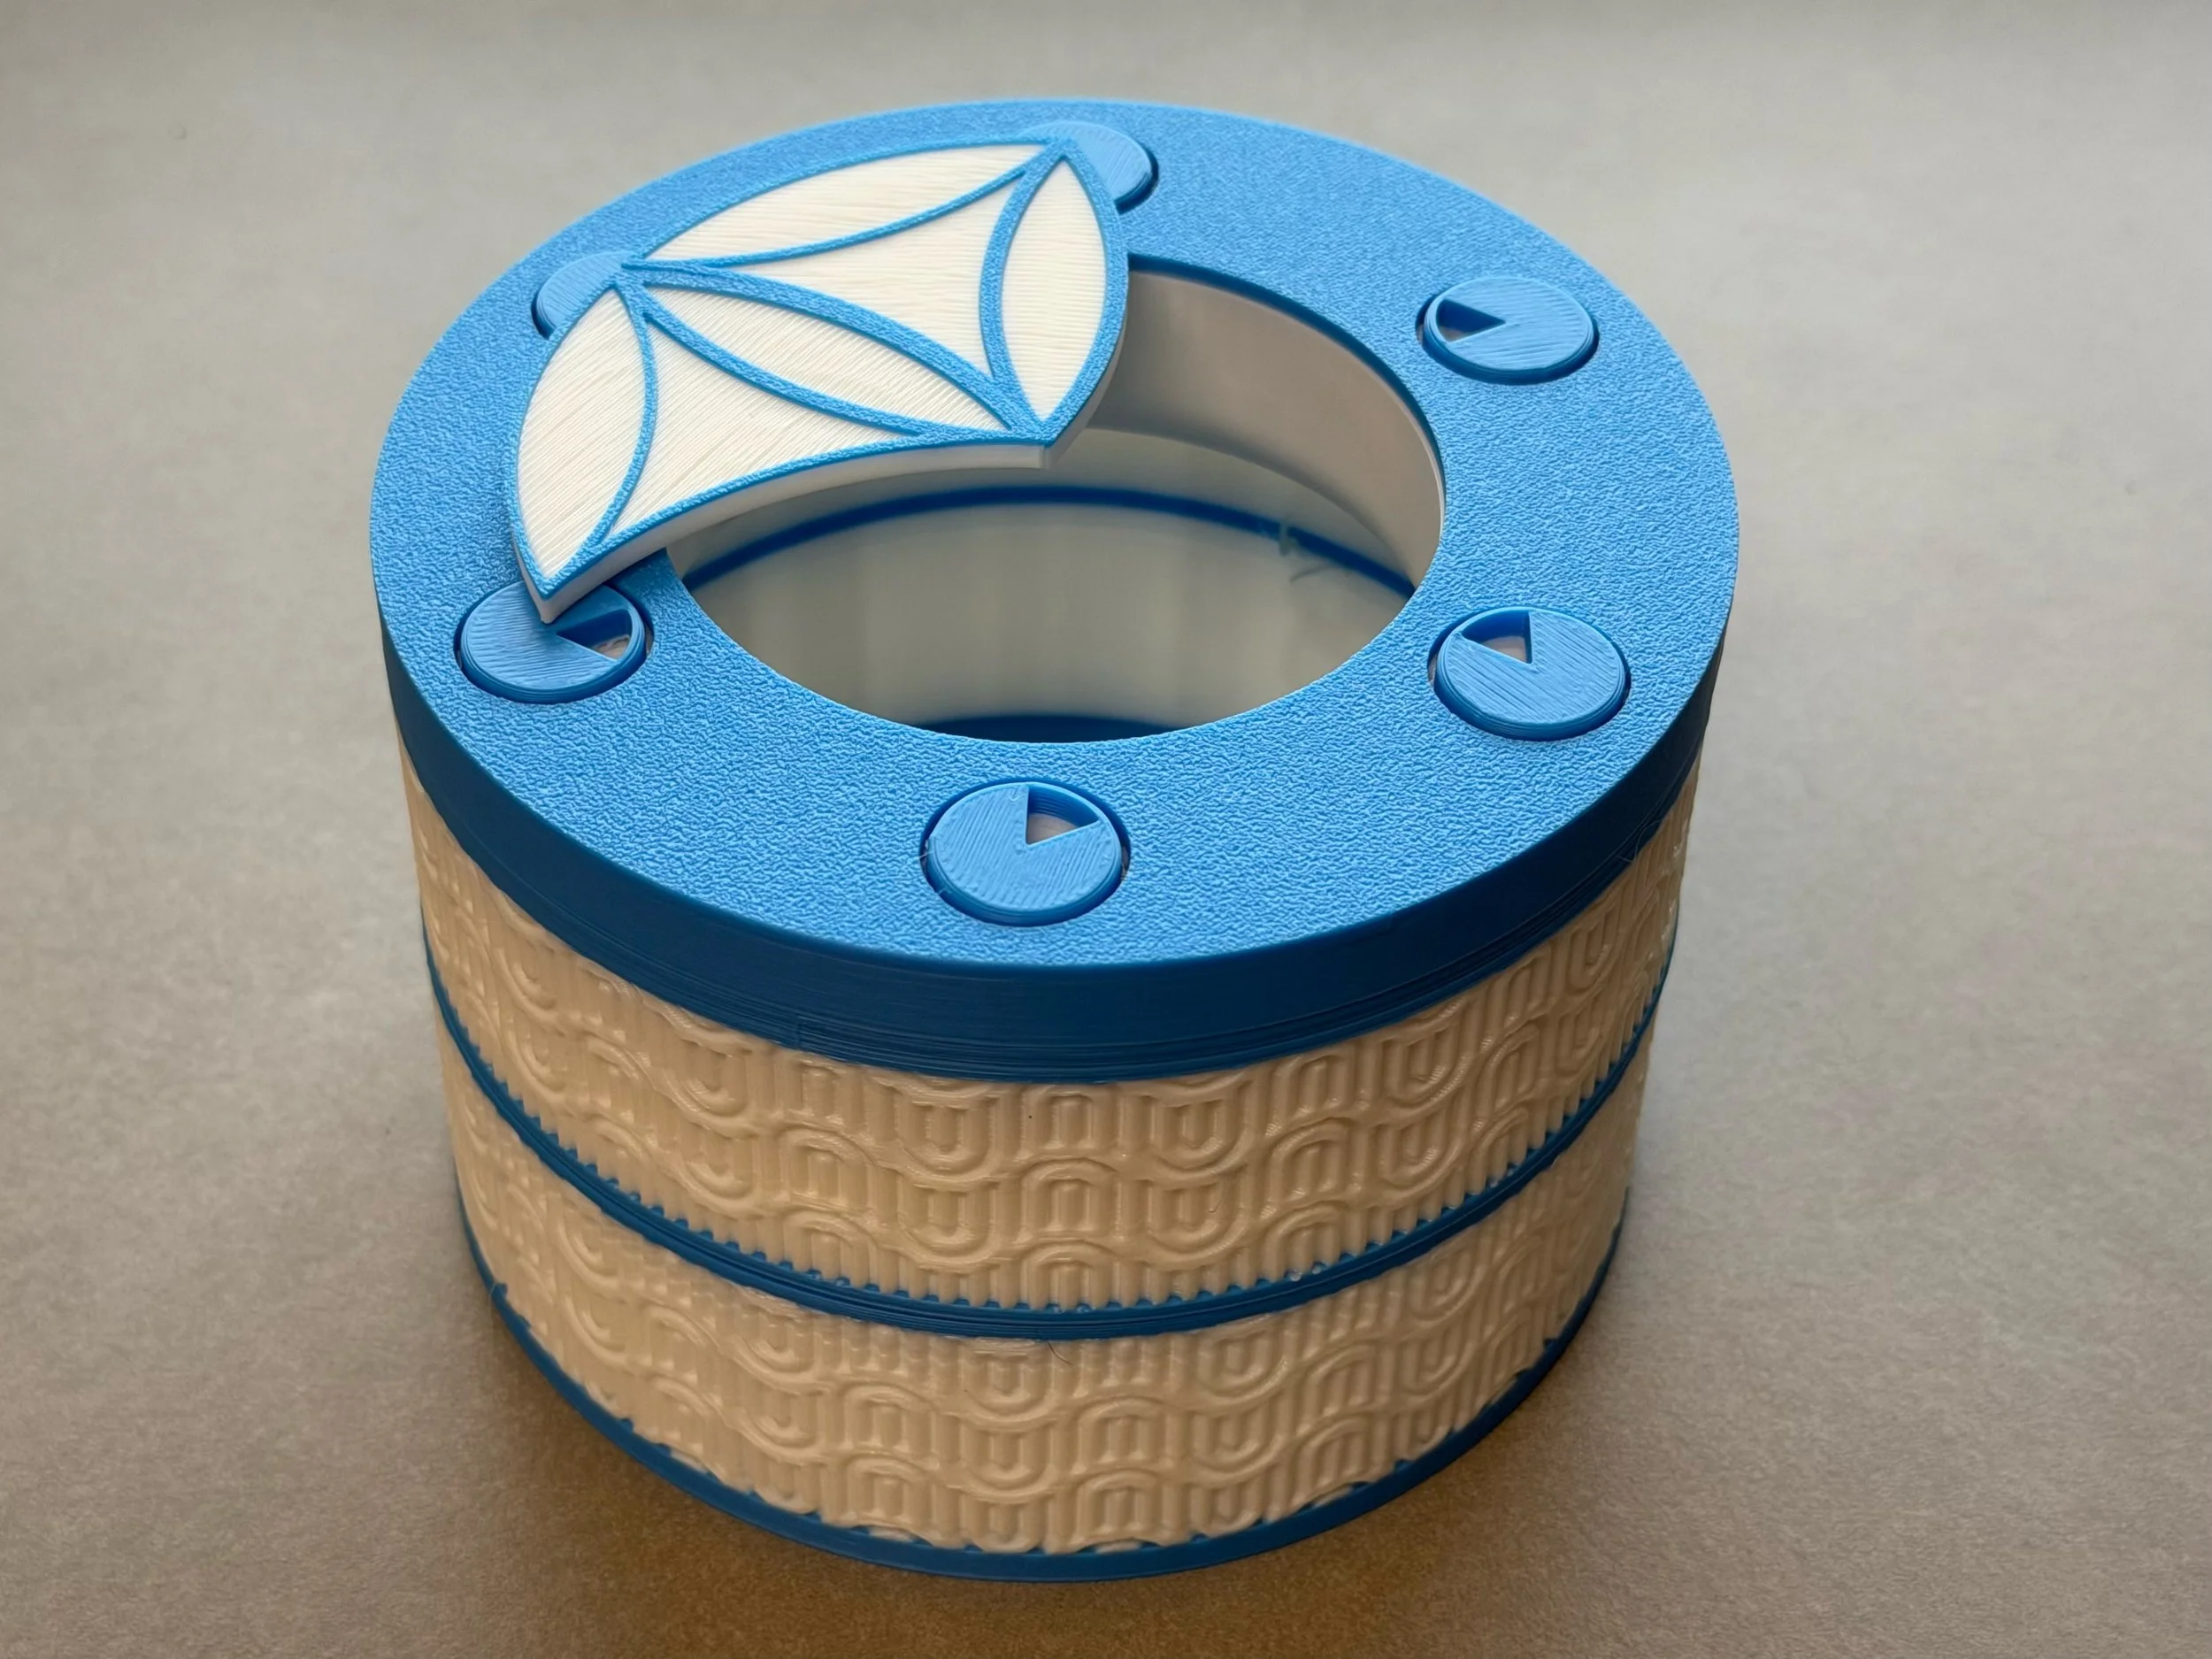
Step 4: Insert the Top Triangles
Finally, insert the top triangular pieces as shown. They should slide in smoothly and complete the final profile of the spinning top.